A Methodology to Define a Deviation Vector Field Between Scanned Cloud of Points and Digital CAD Surface
In this guest post, James He, an AutoForm user from China shares a strategy he has developed and put into practice for springback compensation by defining a deviation vector field and matching nodes one to one on a CAD surface in virtual engineering. James joins FormingWorld today to share his methodology with other AutoForm users.
In the die design process and in tool tryout the springback compensation of the dies is a very concerning topic. As is widely known, compensation represents a countermeasure of springback (elastic return) in the metal sheet after either the drawing or flanging operations. In practice compensating a tool means a morph of the initial nominal tool surfaces based on springback measurements.
In surface morphing, the morphing driving factor is the displacement vector field of the nodes before and after sheet metal springback. AutoForm has developed a complete springback compensation process, which can engineer the product well according to the resulting analysis in software.
However, where simulation ends tryout begins. There is often a small deviation between the final simulated compensation result and the actual results, which still depend on several process parameters and their application in the real world (how much of “as built” matches “as engineered”). When this difference occurs, it’s a common practice that the surface of the die is morphed according to the scanning point cloud of the stamped sheet metal part. Fortunately AutoForm’s latest version adds a “generic compensation” function. This function can automatically calculate the displacement vector field of nodes according to the scanning point cloud and the reference surface, and in turn, can thereby compensate the die surface.
The deformation of the die surface requires that the section length and area of the product will change somewhat before and after deformation. Thus there is a basic requirement for calculating the vector field of the displacement nodes, that is, the change in distance between any two adjacent nodes after calculation. Here, the average deviation of distance variation is less than 0.1mm, which is ideal. This method is currently widely used in the software.
However, there is one flaw in applying such methods. The fact remains, the node positions calculated by these methods are not regularly distributed according to the wireframe of surface patches. More nodes are needed, and sometimes results are not ideal.
Using the method presented in this article, our calculation results are visual, and we can ensure the nodes in the displacement vector field are positioned one-to-one in the topology.
In following this method, as long as our sheet metal can be reasonably discretized by nodes, the computing time will not be increased with the larger number of scanned point clouds.
The Method in Practice:
Firstly, in order to morph CAD surfaces on a scanned cloud of points a deviation vector is required. But because of the lack of nodes alignment between scanned cloud of points and CAD surfaces, the definition of this deviation vector field cannot be solved well by using a CAD method at present.
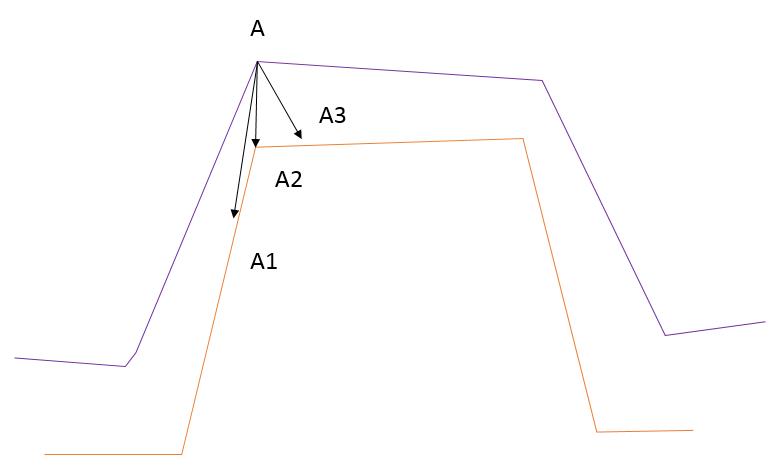
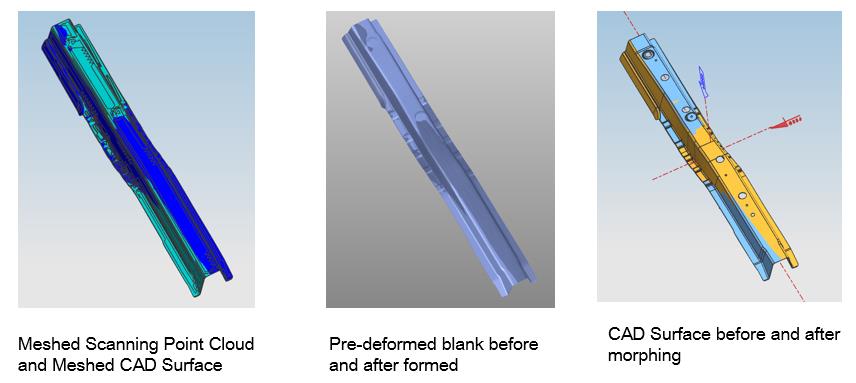
Problems in traditional thoughts: As shown in the following figure, when node A on the scan point cloud is projected onto the CAD surface, node A cannot determine the corresponding position of the topological concept on the CAD surface.
Our idea is to use CAE to define this deviation vector field. Here are the specific methods of operation in AutoForm as explained:
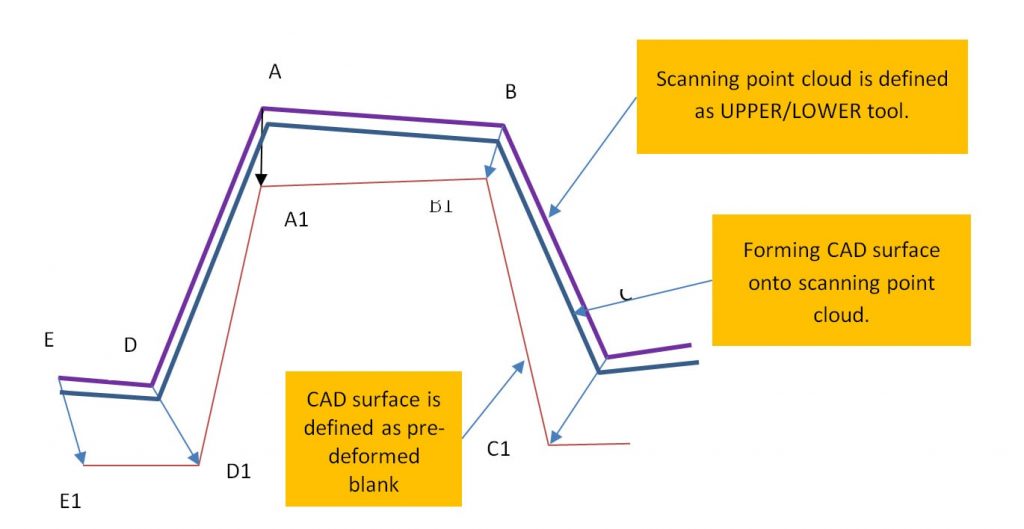
- The CAD surface is defined as a pre-deformed blank and we add material properties to the blank
- The scanned cloud of points is defined as tool, both upper and lower tool
- The pre-deformed blank is formed by the tools while mesh refinement is deactivated. So we get a deformed sheet which has the same shape as the scanned cloud of points.
- Because the mesh (nodes and elements) of the pre-deformed blank and the deformed sheet are in one-to-one correspondence, now, we can easily define the displacement of each node. This displacement corresponds to the deviation vector field between the scanned cloud of points and the CAD surface.
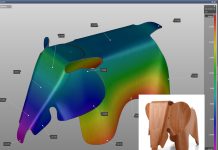
The following figure shows how we can use the finite element method of CAE to “formed” the CAD surface.
The quality of the deviation vector field is also good since:
- The change of section length before and after deformation is very small and restricted by material elastic-plastic deformation.
- As long as the scanned cloud of points is smooth, the results we get are also smooth and restricted by material elastic-plastic deformation.
- Even if the boundary of the scanned point cloud is smaller than that of the CAD surface, the part beyond the boundary of the scanned point cloud will maintain the real shape due to the characteristics of the sheet metal itself.
Once we get the deviation vector field between the scanned cloud of points and the CAD surface accurately, existing commercial CAD morphing software can produce very beautiful surface morphing. With this methodology we can accurately convert CAD surface to cloud of points at any time.
This is good news for the die shop, this methodology can be applied for repairing old dies, or springback compensation for sheet metal parts. Compensation of the skin panel is more complex, it involves the smoothing of the deviation vector field.
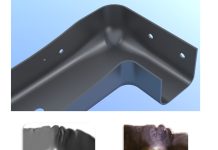
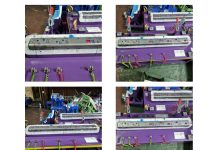
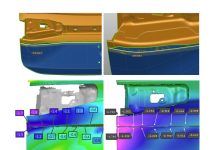
Here are some pictures of the actual operation process.
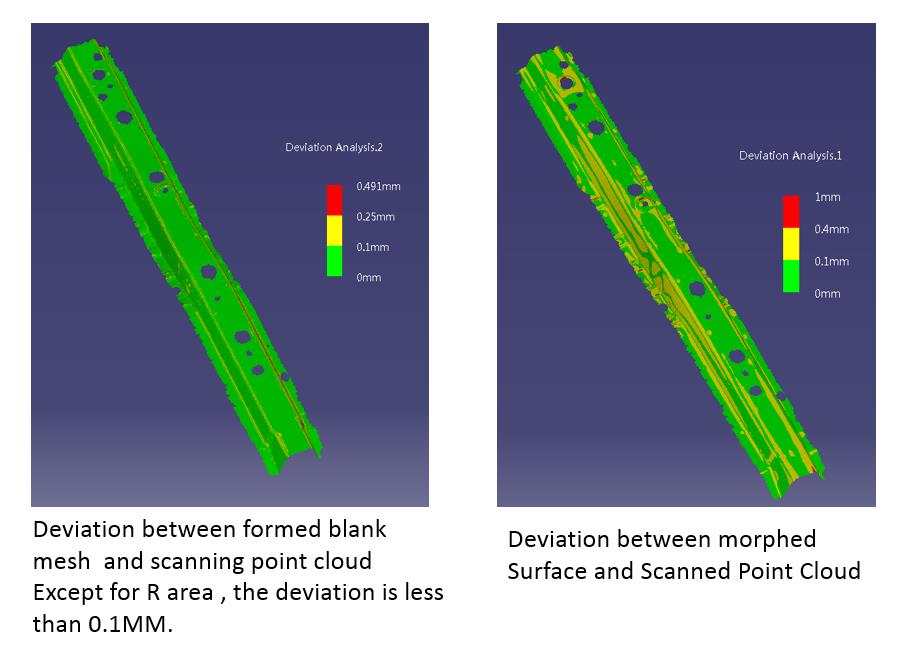
For the last picture, when the commercial CAD software morphed the surface according to the deviation of the displacement vector field of the nodes, because the scanning point cloud has the side wall curl, the software smoothed the side wall area, so the side wall of the surface deviation will increase.
Sometimes it is difficult to get ideal results by using the idea of CAD to solve some problems, but it is very simple to solve them by using the idea of CAE, for example, we use the idea of CAE to do CAD surface morphing.
Defining the CAD surface as pre-deformed blank and forming the CAD surface in the CAE software to get a new shape is a new idea of surface morphing.
About the Author:
My name is James He. I am from Zhejiang, China. I have been engaged in automobile sheet metal parts for more than 15 years. I am engaged in synchronization engineering of the whole body in white and development of stamping Die layout.
I am open to communicating in the field of sheet metal forming. My Linkedin Profile.
*See our guest post disclaimer here.


