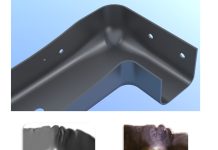
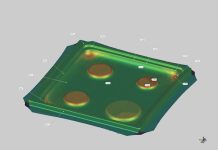
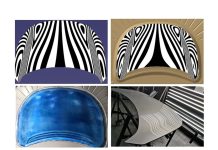
Compensation inside of AutoForm has been a powerful tool for many years. This tool has enabled users to cut down on re-cuts of tools and save time and money in tryout for production. The only drawback to this has always been the amount of time and attention needed to run the compensation loops through AutoForm. Now, we have the ability to hasten this process and require less user interaction with the addition of automatic compensation, or AutoComp. Here we will briefly go through the process of setting it up and reviewing the results.
With the addition of this feature to AutoForm, we need to understand how to set up the simulation so that we can begin. This new tool is actually very easy to use for anyone who already uses the compensator feature. Setting up a compensation strategy (defining the direct, transition, and fixed regions) works the same way as it always has for compensation.
In Figure 1 below, we can see a cross section of the set-up used in this example of an A-Pillar, detailing the original geometry compared to the compensated geometry. After defining the compensation strategy, the only thing that needs to be done is activate AutoComp on the simulation setup page. Here you are able to decide the number of compensation loops you wish to run, as well as have a backdraft check enabled or disabled. The backdraft check will simply make sure there is no backdraft before running the next iteration in the compensation, if there is backdraft the simulation will stop running. After making these selections the only the left is to start the simulation and wait for the results.
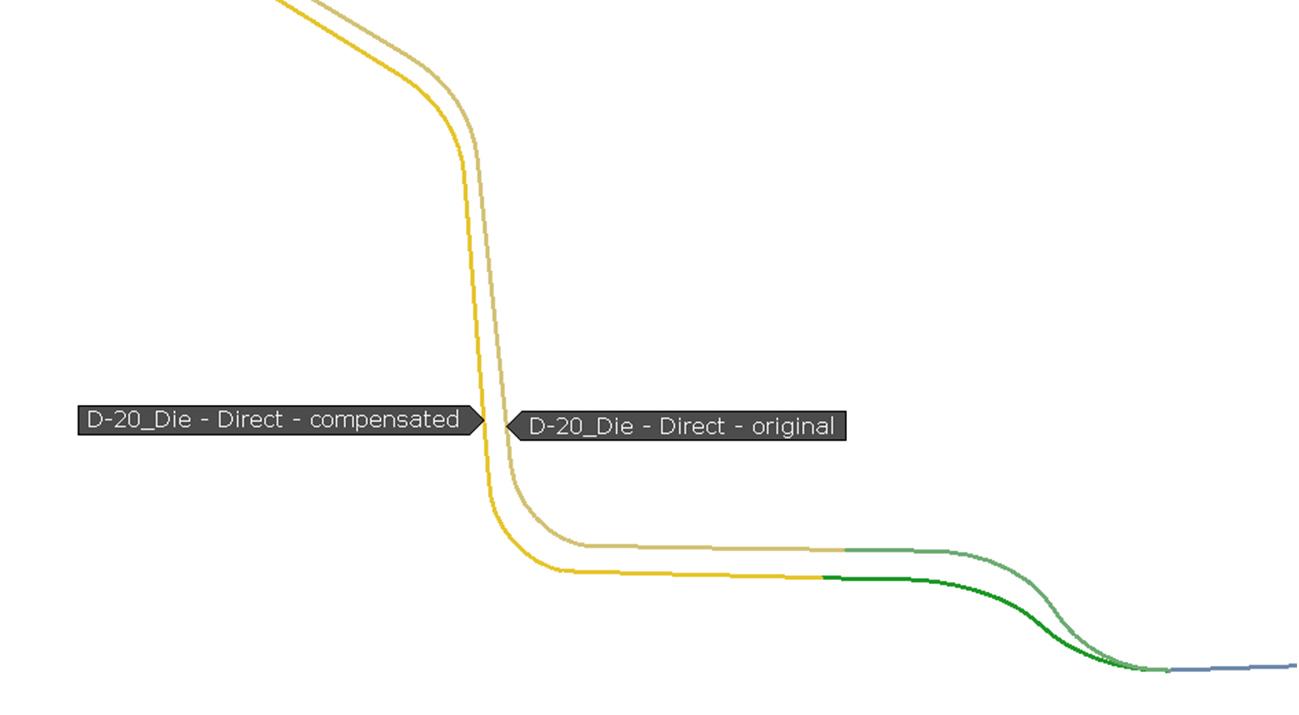
Figure 1- Cross Section of A-Pillar
After the simulations are completed, it is time to actually review the results and check which file gives us the best results. Here we will examine an A-Pillar that has undergone three loops of compensation using AutoComp.
Figure 1 shows us the results after applying the first iteration of compensation. Figure 2 displays the results after the second iteration, and Figure 3 shows the third and final loop of compensation based on the setup used in this example.
After the simulations are completed, it is the job of the engineer to open the files and determine which file has the optimal results. While reviewing the simulations, if there is no desired result, a new compensation strategy is needed. This is no different from running through compensation manually. After setting up a new strategy you would just need to let AutoComp run again, followed by reviewing the results.
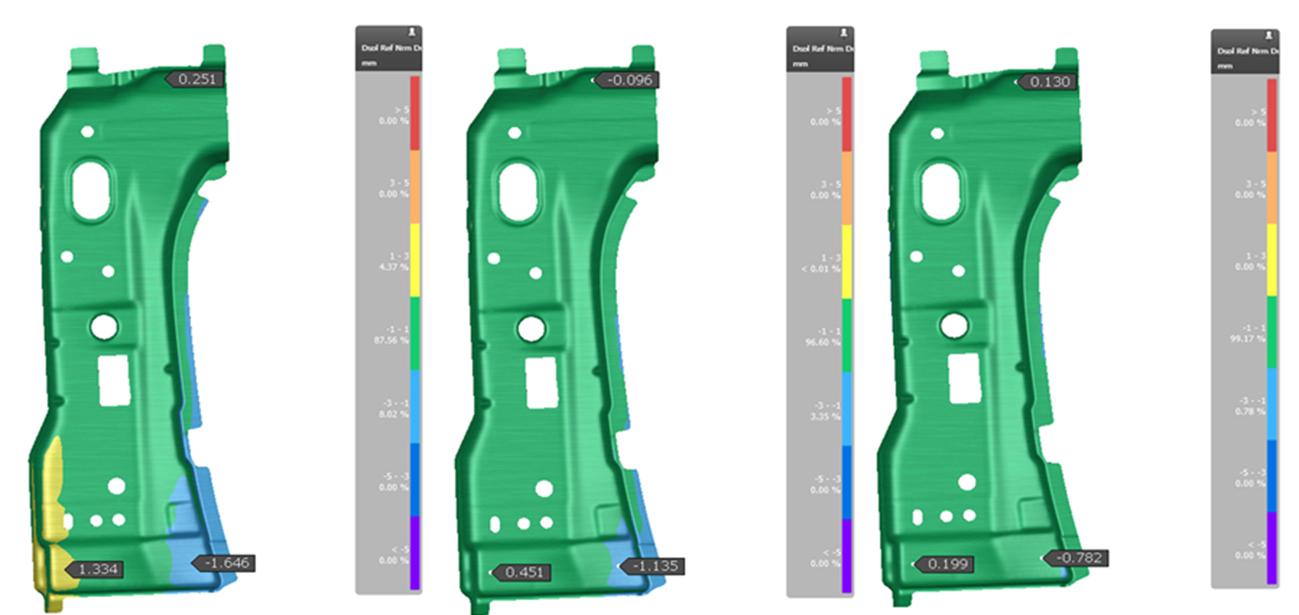
Figure 2- 1st Iteration Figure 3- 2nd Iteration Figure 4- 3rd Iteration
Although the new feature is relatively simple at this time, we look forward to how it will be used and improved upon in the coming years. Utilizing this tool will help to save time and effort compared to manually running through each simulation and waiting for the results, by enabling users to click go and come back to the results when they are ready.


