Panel Surfaces Analyzed for Deflections Accurately
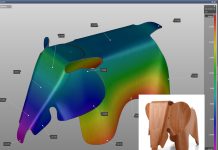
Surface deflections are extremely shallow and hard to see. The technique of stoning is applied across a panel surface to expose shallow indentions. Here, Markus Avermann, Technical Product Manager from AutoForm & Bernd Glassbrenner, Senior Process Consultant, talks about the power of virtual stoning in AutoForm.
Where cars largely depend on styling, utmost perfection of surface quality is always a major issue. Once the car is painted, with a glossy finish, one only needs to consider how the highlighting of the contours of a vehicle’s shape adds selling power for any OEM. The way sunlight shines across such surfaces makes a vehicle attractive, yet at the same time, such exposure to sunlight might expose whether or not the surface quality is good. Indeed, indentations will stand out, declaring their ugly presence. In producing outer panels surface quality is therefore paramount. We can address this issue by employing “virtual stoning” across a panel’s surfaces in forming simulation.
How Stoning Works
In order to analyze surface quality two approaches may be used to simulate the stoning process, mimicking how it is done on a real panel if the stoning tool was applied in reality.
In FE simulation, sections are created in the virtual sheet and then the stoning function is applied. This identifies any dents at any point across the surface. Secondly, result variables, based on the curvature of the sheet itself, are employed. The desired shape and surface quality of the part is taken as a reference-geometry and compared to the curvatures of the simulated part. Any deviations are then detected in these regions. Indentations are shallow, yet the width of a surface defect can cover several center-meters and to the eye can be hard to spot.
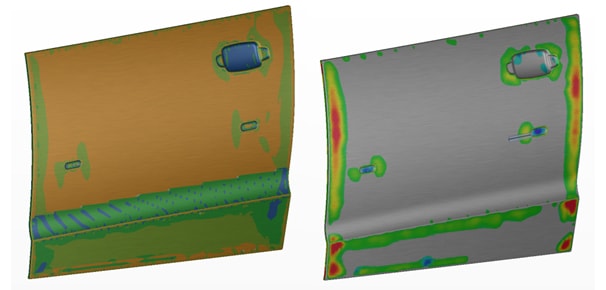
Fig 1. Left door outer curvatures / Right door reference lows.
Markus added “Everything is included in the AutoForm software to start using this feature. Creating the function was just a matter of knowing how to use that data in a meaningful way in order to interpret the results. Our customers can easily trigger this feature as we have developed some buttons that will quickly generate the surface quality.”
How to Learn About Virtual Stoning
Markus explained “Our consulting team has been quite successful in introducing this feature during projects. Therefore we recommend working with your support team and consulting directly. During in-house talks customers raise the right questions and once they know how to set up the process correctly they indeed find out that it’s possible to detect all of the surface defects accurately. This method of training means introducing this tool to customers on the real parts they are working on currently.”
How Accurate is AutoForm’s Surface Deflections Tools?
In a recent study “Validation of the stoning method by numerical and experimental investigation of outer panels with and without surface deflections,” by Annika Weinschenk and Wolfram Volk 2018, AutoForm was tested, along with LS-Dyna. “The results of the AutoForm simulation and experiment results matched closely.”[1]

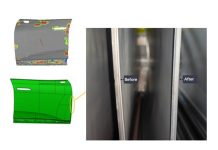
Fig 2. AA6016: Detection of surface deflections on the part with a stone length of 150 mm. Image courtesy of Annika Weinschenk.

Fig 3. Stoning in AutoForm compared, virtual stone length 150 mm. Image permission from Annika Weinschenk.
Renault Rescues Door Using Virtual Stoning
Recently Bernd Glassbrenner, Process Consultant from AutoForm, worked directly with Renault on a problematic part. Bernd said “Originally, the problem was a door outer, which was faced with a significant skid line in a class A surface area. Naturally you would not allow this on your panels.” He continued “I then requested the draw-in of the blank, and the positioning for the blank at the tool closure in order to re-run the simulation.”
“The information was used to examine the material’s movement across this skid line. At that time it was too late to change the drawings and the tools had already been milled out of cast iron. No useful information could be gained without including the proper material stretch across the panel into the simulation file. The goal was to control this material movement from outside and inside, across the radii. My target was to get the results of the draw-in and I wanted to express that in order have a valid simulation you need to represent the same stresses in the panel. Once the real information was added the simulation results proved accurate.”
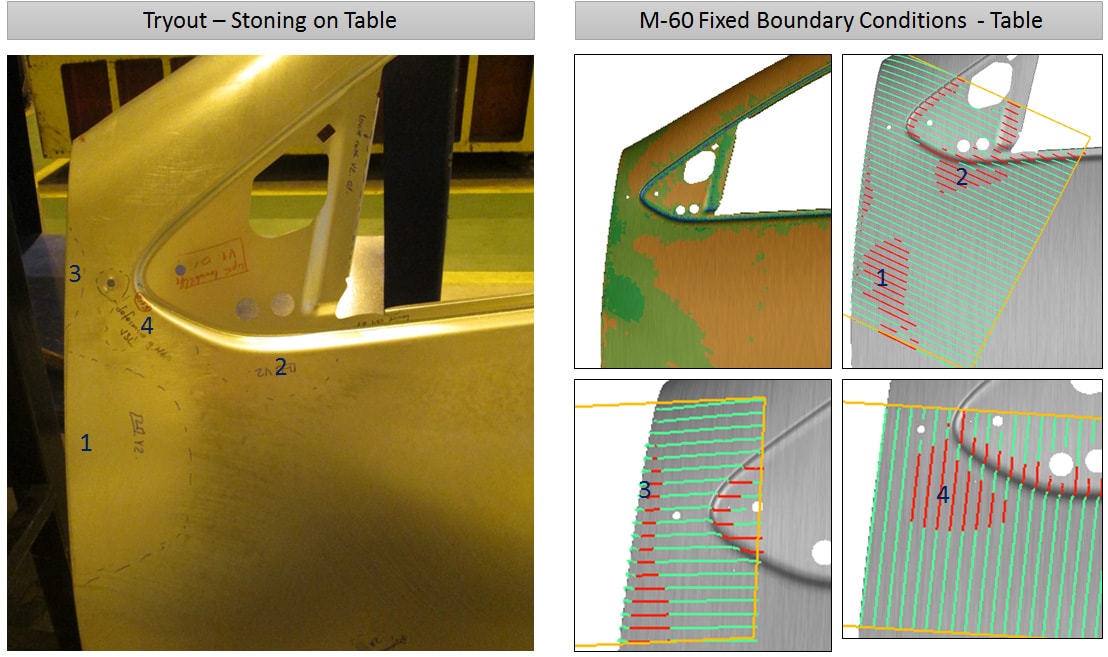
Fig 4. Renault stoning compared with surface lows evaluation in AutoForm.
 “According to this new simulation a lack of pressure on the binders along one side was identified –caused either by a tilt on the press or by spacers used. Once the same stresses were represented we compared the surface lows. That was when I saw the real part in its entirety for the first time, and indeed AutoForm’s simulation matched what had happened in tryout” said Bernd, adding “The surface low was very wide in one area. Our three point gauging analysis was compared, showing a negative curvature, contrary to the design of the panel.”
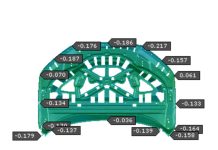
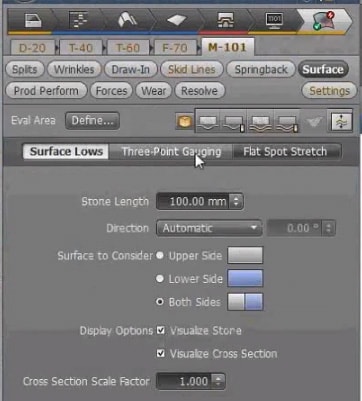
Options to analyze surface deflections: 1) surface lows 2) three point gauging and 3) flat spot stretch. A curvature cases function may also be selected in AutoForm.
Markus concluded “The takeaway is that where surface defects are very sensitive to forming processes – the engineer has to ensure that the simulation set-up truly matches the set-up of the real die set used. Only then will the simulation results be relevant and be useful for the engineer. Once you change something like the drawbeads, for example, the simulation results no longer match what will occur with the real panel. If there is a lack of accuracy it is not with the software but with the user, who must backtrack and ensure everything matches.”
New readers, don’t forget to subscribe to our blog. We’ll never send you any marketing emails. You’ll get a once a month email featuring our top posts so you never miss anything important on sheet metal forming.
[1] “Validation of the stoning method by numerical and experimental investigation of outer panels with and without surface deflections,” by Annika Weinschenk and Wolfram Volk 2018. IOP Conf. Series: Journal of Physics: Conf. Series 1063 (2018) 012143 doi :10.1088/1742-6596/1063/1/012143. Numisheet 2018.


