Die Process Team Shares Success Simulating CAD Surface Quality
As we can all agree, unknown and challenging targets always arise with every new project, which demand higher dimensional accuracy. New quality targets are constantly being set by policies aimed towards continuous process improvements. Great benefits and savings are certainly evident downstream, by having to spend less effort in the assembly processes and achieving a better visual appearance for the car body.
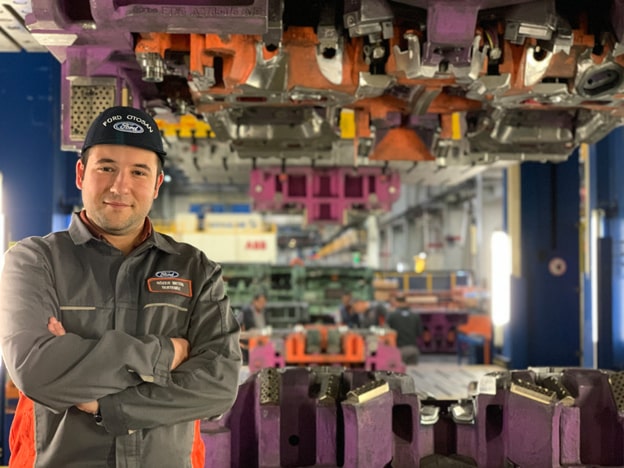
Sözer Metin Tertemiz, from Ford Otosan’s Tool & Die team, reports that he has managed to achieve these new goals in a much shorter time frame during the Ford North American project. In this article, he shares his team’s success with a roof bow part and his first ever die process in tryout. Here’s his report:
“In my opinion, when working to achieve these goals, technical expertise is not the only and biggest factor of success. It’s about taking a different perspective, because there are many factors behind this success which I would like to explain in detail.
Before working in Ford Otosan’s Die Process Team, I worked on the NC Method team, which serves to generate the final machining surfaces of our dies. At our Ford Otosan Tool & Die Team, we believe that in order to become an experienced Die Process Engineer, you have to learn the business from the bottom up. This approach allows each member of our team to get a flawless understanding of the complete workflow, in its totality, and enables consistent communication among all participants from engineering to try-out.”
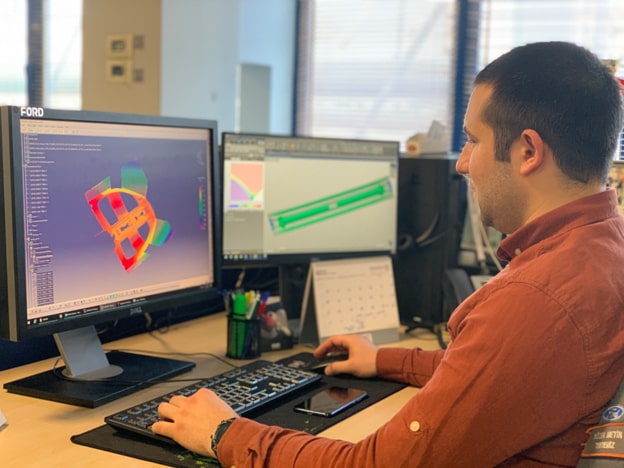
Now, our Die Process Team believes that one of the most valuable things is having “Die Surface Knowledge.” Our senior Die Process Engineer Mr. Fatih ÖNHON always says that “A Die Process Engineer should be able to develop Die Surfaces according to his or her specified die process.”
A Die Process Engineer must further know:
- Press information (especially, each panel’s Home Line).
- Workshop and die manufacturing processes.
- The basics of die design knowledge.
- The basics of machining knowledge.
My sole motivation was and is to understand and fully digest all these requirements.
You have to admit, achieving 100% PIST (Points in Specified Tolerance) in the first tryout loop is no small feat. For me personally, seeing this was my very first die process. It was a great chance to learn and observe all the die process phases in action, beginning with feasibility until maturing to the final die process and its release for manufacturing.
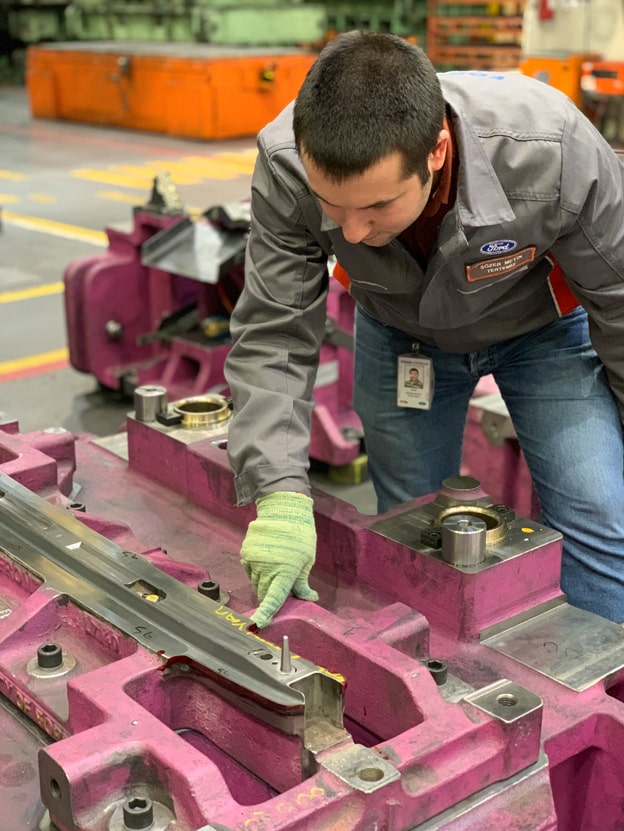
My starting point was checking previous projects for similar parts and gathering our know-how.
At the beginning of the feasibility phase, I decided to move on with CAD die surfaces by using AutoForm-Process DesignerforCATIA because I wanted to improve my skills in CAD to gain a common understanding at Ford Otosan. I have to state now, that the software was the correct choice to start with due its methodology guideline, which the software offers to its users. I felt very comfortable from the beginning. I find the way users are guided to perform their tasks is really helpful for learning and assists in proceeding forwards during the process design. The updates due to part changes were fluent and reliable.
At each feasibility evaluation we used simulation results and I had internal discussions with my team to review the reports generated and the process whilst collecting different opinions. I believe it was very informative and helpful for all of us to listen to what people think of my process.
The project roof bow part is an inner panel and required a dimensional accuracy with a tolerance of ± 0.5 mm on the mating surfaces which meant the springback compensation had to be accurate. Therefore, the Die Process Team defined a ±0.3 mm range for all the mating areas in order to assure accuracy and allow for more playground to the Tool Shop.
I could then easily create the compensation strategy using AutoForm. As mentioned before, I previously worked in the Tool Shop and one of the main problems for the flow of die manufacturing that I observed was the necessity of running too many quality loops because of problems of dimensional inaccuracy. Toolmakers use grinders for these quality loops and they have to stone the surface in order to eliminate distortions. These experiences taught me one important thing, which makes us say “feel the pain.” I knew that if I could deliver an accurate process from engineering, I would get a good result down the line.
At this point, I appreciated the software as the way you now come to do springback compensation is structured and guided. What surprised me was that I did not have to work “back and forth”. I finished all the compensation work in a single day, along with verifying the surfaces in simulation.
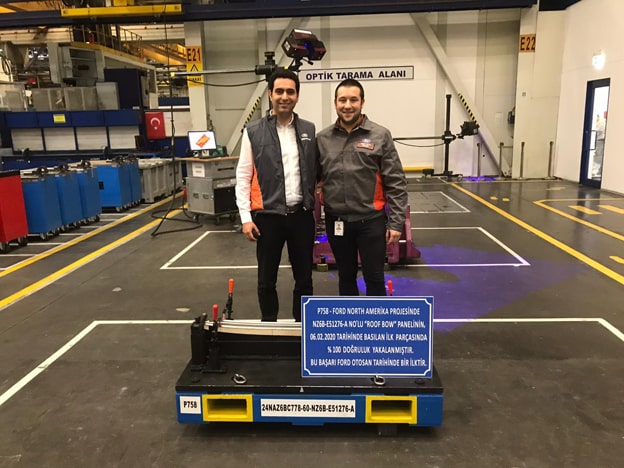
What could be more rewarding? It was achieving a 100% within tolerance result on the very first tryout loop. This great success belongs to every person in Ford Otosan’s Tool & Die.”
Congratulations to the whole team and well done Sözer! It is a really great achievement which proves the accuracy and level of your own understanding in using our CAE and CAD solutions.
New readers, don’t forget to sign up to our blog. We’ll send you updates of our latest post only. Never any marketing emails.


